IP설정


호스트 등록


systemctl restart network 명령어로 설정 적용

핑 테스트

미디어 파일 설정

연결 체크
local.repo 생성


[Package]
name=DVD-Repository
baseurl=file:///mnt
enabled=1
gpgcheck=0
priority=1
RHEL 7 버전에서 yum을 사용하기 위한 설정


[base]
name=CentOS-$releasever - Base
baseurl=http://ftp.daum.net/centos/7/os/$basearch/
gpgcheck=1
gpgkey=http://ftp.daum.net/centos/RPM-GPG-KEY-CentOS-7
[updates]
name=CentOS-$releasever - Updates
baseurl=http://ftp.daum.net/centos/7/updates/$basearch/
gpgcheck=1
gpgkey=http://ftp.daum.net/centos/RPM-GPG-KEY-CentOS-7
[extras]
name=CentOS-$releasever - Extras
baseurl=http://ftp.daum.net/centos/7/extras/$basearch/
gpgcheck=1
gpgkey=http://ftp.daum.net/centos/RPM-GPG-KEY-CentOS-7
[centosplus]
name=CentOS-$releasever - Plus
baseurl=http://ftp.daum.net/centos/7/centosplus/$basearch/
gpgcheck=1
gpgkey=http://ftp.daum.net/centos/RPM-GPG-KEY-CentOS-7
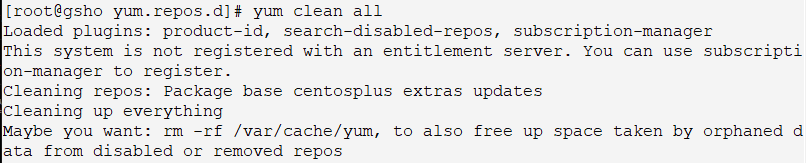
기존 repo clean
yum clean all
yum repolist all


에러 해결을 위해 'dhclient' 실행
(dhcp 서버에서 IP 할당 받는 방법)

'등록하지 않은 서버~' 에러메시지 제거를 위해 'subscription-manager' 를 사용하지 않도록 변경
/etc/yum/pluginconf.d
# vi subscription-manager.conf

1 에서 0으로 변경
yum repolist all 재확인

'Could not resolve host ~ ' 에러 메시지가 사라진걸 확인할 수 있다.
추가로 필수인 EPEL 리포지터리 추가

각 버전에 맞는 리포지터리 설치
- 7.5 버전이므로 RHEL7 EPEL 리포지터리만 설치 진행
RHEL7 EPEL 리포지터리
rpm -Uvh https://dl.fedoraproject.org/pub/epel/epel-release-latest-7.noarch.rpm
RHEL6 EPEL 리포지터리
rpm -Uvh http://dl.fedoraproject.org/pub/epel/6/x86_64/epel-release-6-8.noarch.rpm
RHEL5 EPEL 리포지터리
rpm -Uvh http://dl.fedoraproject.org/pub/epel/5/x86_64/epel-release-5-4.noarch.rpm
yum 업데이트 선진행
yum update -y

사전 자동설정 진행
yum install -y https://yum.oracle.com/repo/OracleLinux/OL7/latest/x86_64/getPackage/oracle-database-preinstall-19c-1.0-1.el7.x86_64.rpm


수동설정 파일 확인

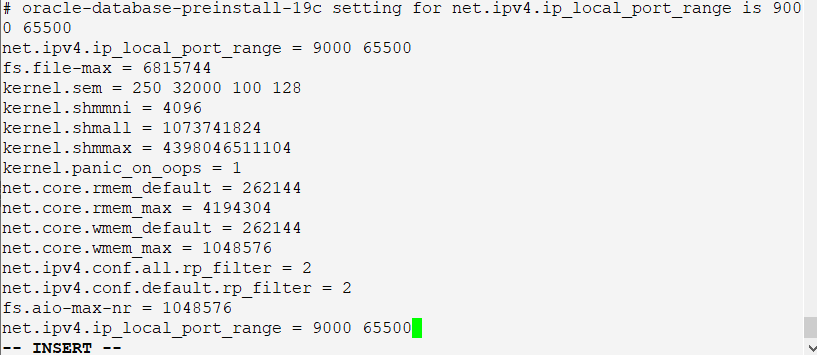
fs.file-max = 6815744
kernel.sem = 250 32000 100 128
kernel.shmmni = 4096
kernel.shmall = 1073741824
kernel.shmmax = 4398046511104
kernel.panic_on_oops = 1
net.core.rmem_default = 262144
net.core.rmem_max = 4194304
net.core.wmem_default = 262144
net.core.wmem_max = 1048576
net.ipv4.conf.all.rp_filter = 2
net.ipv4.conf.default.rp_filter = 2
fs.aio-max-nr = 1048576
net.ipv4.ip_local_port_range = 9000 65500
내용 추가

입력 확인
파일 추가 후 내용 추가


oracle soft nofile 1024
oracle hard nofile 65536
oracle soft nproc 16384
oracle hard nproc 16384
oracle soft stack 10240
oracle hard stack 32768
oracle hard memlock 134217728
oracle soft memlock 134217728
selinux=permissive 설정

계정 및 그룹 수정 / PW 변경

방화벽 해제

설치 경로 생성

서버에 Oracle Database 설치 미디어 업로드 후 권한 부여
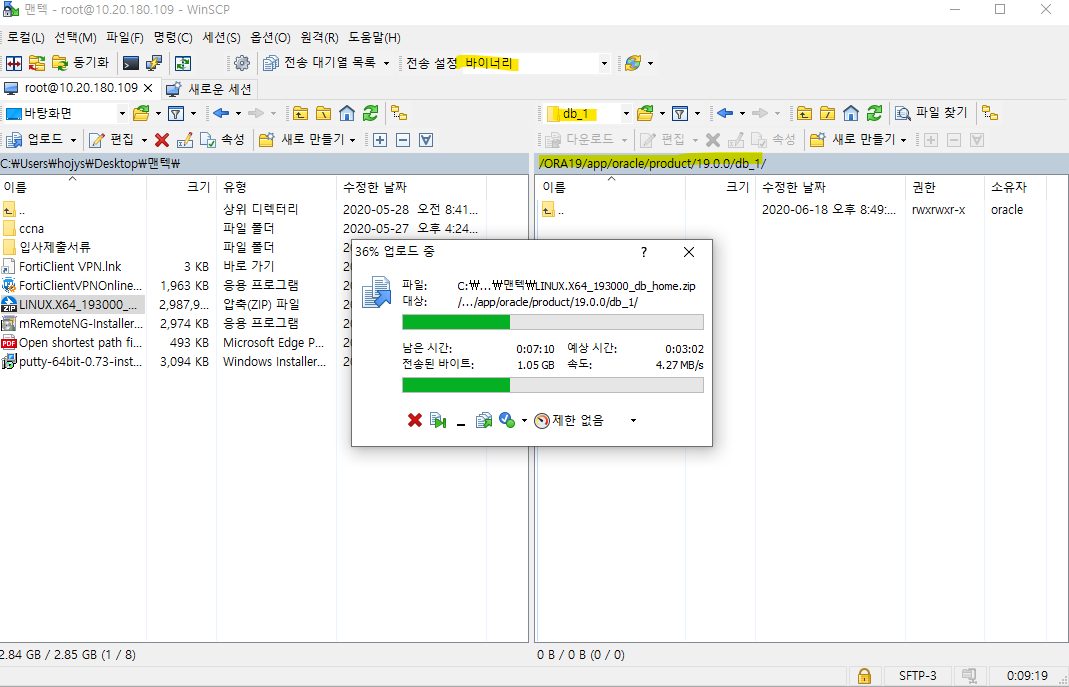
설치할 위치에 압축파일 이동

해당 명령어로 권한 부여
오라클 계정 접속 후 .bash_profile 에 아래 내용 추가

vi .bash_profile
export TMP=/tmp
export TMPDIR=$TMP
export ORACLE_HOSTNAME=gsho
export ORACLE_UNQNAME=oracle19
export ORACLE_BASE=/ORA19/app/oracle
export ORACLE_HOME=$ORACLE_BASE/product/19.0.0/db_1
export ORA_INVENTORY=/ORA19/oraInventory
export ORACLE_SID=oracle19
export DATA_DIR=/ORA19/app/oradata
export PATH=/usr/sbin:/usr/local/bin:$PATH
export PATH=$ORACLE_HOME/bin:$PATH
export LD_LIBRARY_PATH=$ORACLE_HOME/lib:/lib:/usr/lib
export CLASSPATH=$ORACLE_HOME/jlib:$ORACLE_HOME/rdbms/jlib

이런 에러메시지 발생할 시 아래 꺼 한 번 시도 해보기
오라클 설치
*******세션을 새로 열어서 . .bash_profile 로 읽혀주고
- cd $ORACLE_HOME 으로 이동한 뒤
- ./runInstaller 명령어 실행할 것

https://positivemh.tistory.com/555?category=925203
네트워크 자동설정 설치(이거는 제대로 설정 안한 상태로 ./runInstaller 창 띄웠음)
yum install -y oracle-database-preinstall-19c

==> 이 명령어는 ORACLE LINUX 에서 설정하는 명령어임
'System Engineering' 카테고리의 다른 글
| 리눅스 Oracle 19 설치 - 3 (0) | 2023.04.16 |
|---|---|
| 리눅스 Oracle 19 설치 - 2 (0) | 2023.04.16 |
| Windows 2016 Oracle 11g R2 설치 (0) | 2023.04.16 |
| 리눅스 mysql & mariadb 설치 (0) | 2023.04.16 |
| ORACLE Linux 설치(xming 활용) (0) | 2023.04.16 |


댓글